Add a Scheduler
Add a Scheduler
Note: The following instructions explain how to add a scheduler activity.
1.
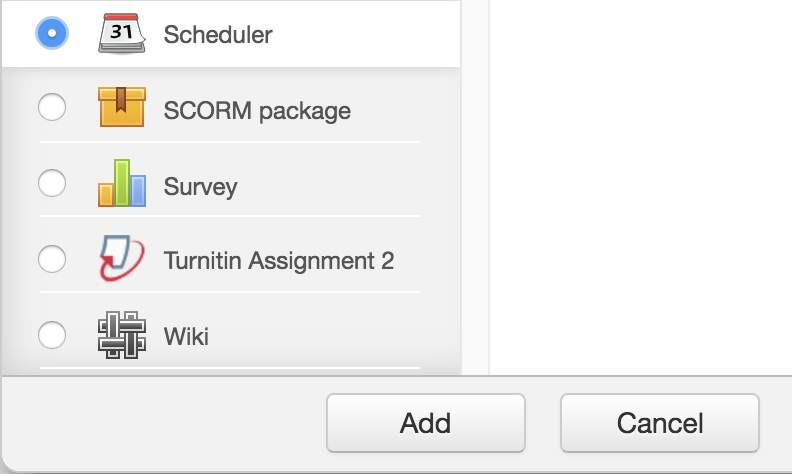
On the module page, click Turn editing
on. Select Add an activity or resource
and in the activity chooser, select Scheduler
and click Add.
2.
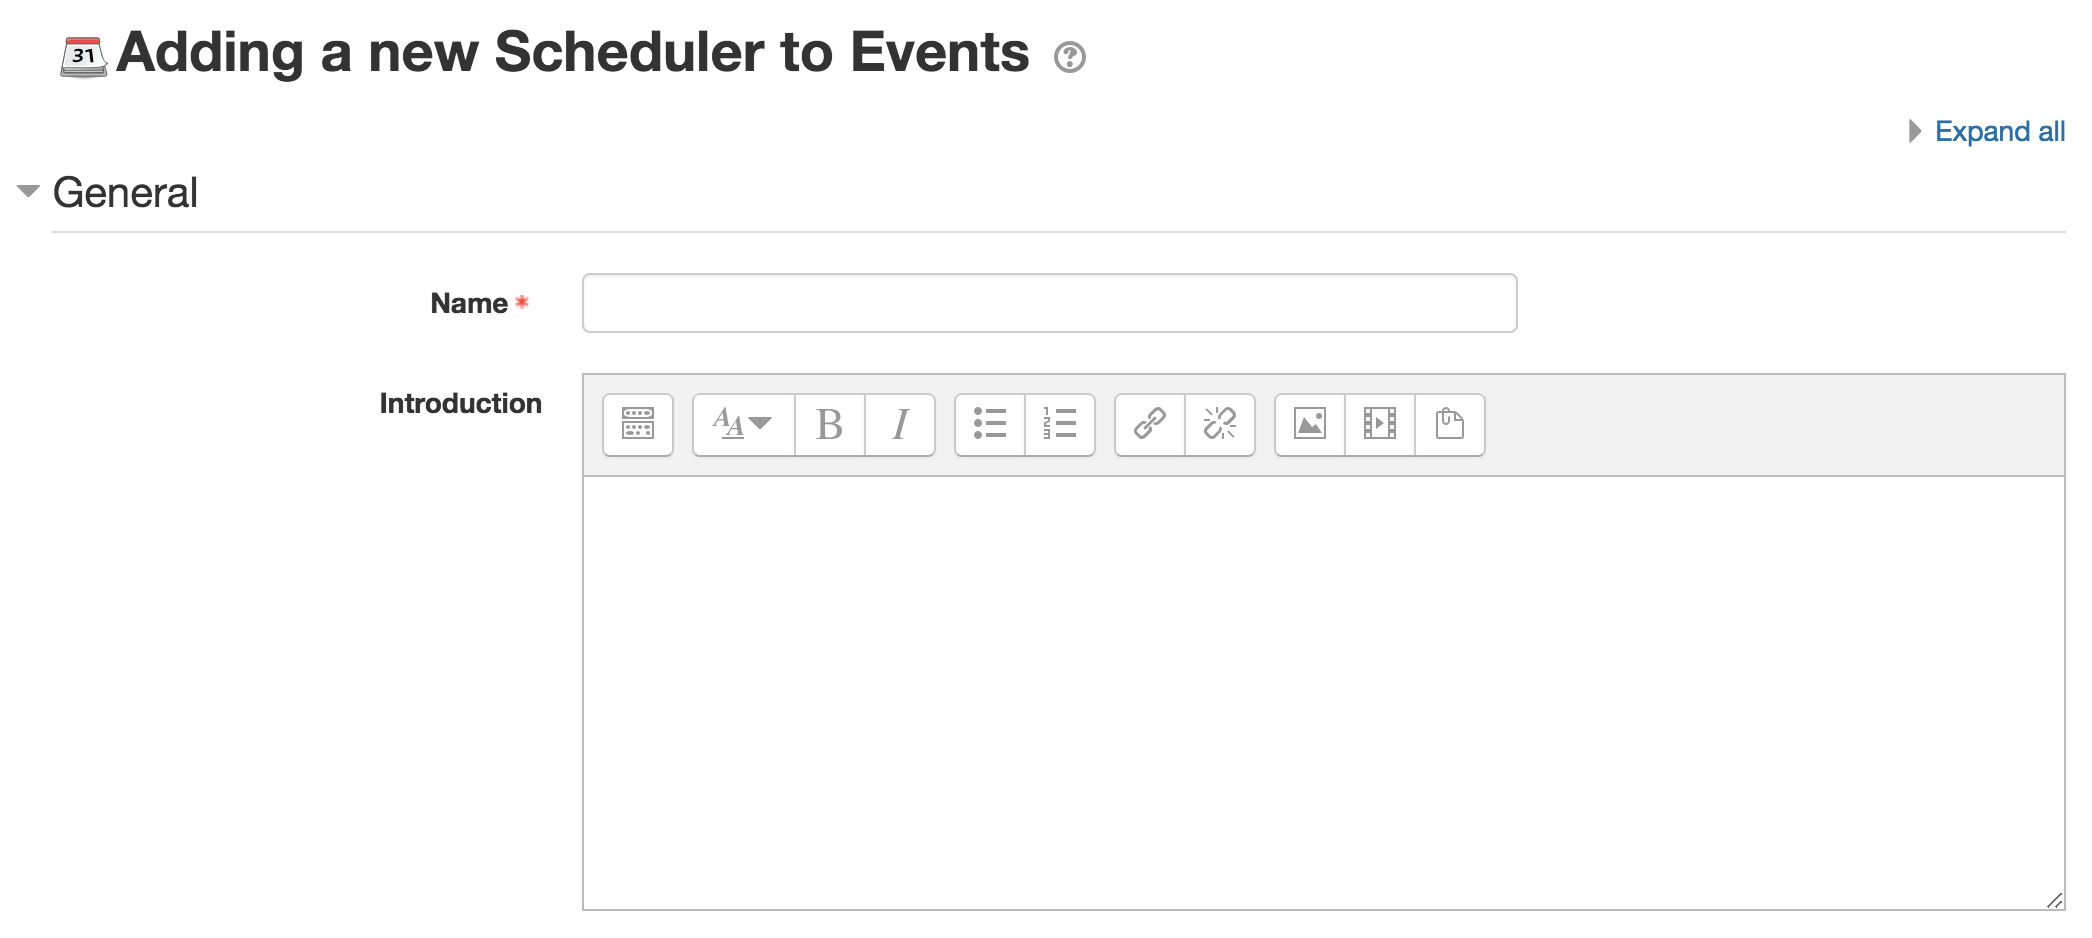
In the General section, enter a Name for
the scheduler and some description or instructions in the Introduction field.
3.
Enter the Role name of the teacher with
whom the students will meet (e.g. Tutor, Mentor, Teacher, Counsellor. This is
not a required field.

4.
Select the scheduling mode. There are 2 modes
of scheduling.
a) "n
appointments in this scheduler": The student can only book a fixed number of
appointments in this activity. Even if the teacher marks them as
"seen", they will not be allowed to book further meetings. The only
way to reset ability of a student to book is to delete the old "seen"
records.
b)
"n appointments at a time": The student can book a fixed number of appointments. Once
the meeting is over and the teacher has marked the student as "seen",
the student can book further appointments. However, the student is limited to n
"open" (unseen) slots at any given time.

5.
Select the Booking in groups option. If
set to yes, it will allow students to book a slot for all members of their
group. By default, it is set to No so each student book their own appointments.

6.
Set and enable the guard time. A guard
time prevents students from changing their booking shortly before the
appointment. For example, if set to 2 hours, then students
will be unable to book a slot that starts in less than 2 hours time from now,
and they will be unable to drop an appointment if it start in less than 2
hours.

7.
Set the default slot duration in
minutes.

8.
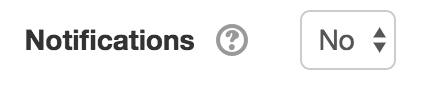
Select whether notifications should be
sent when appointments are applied for or cancelled.
9.
Select whether to use notes for
appointments.

10. You
may leave the rest of the settings for Grade, Common module settings, Restrict access,
Tags and Competencies to default.
11. Click
Save and display.
12. Once
you have created the Scheduler, you can begin adding timeslots for students to
select from. You can either add a single slot or repeated slots. The students
will be able to see which teacher is assigned to the slots.
Add a single slot
1.
Select the appointment date and time.
2.
Enter the duration of the appointment in
minutes.
3.
Leave ignore scheduling conflicts option
empty.
4.
Set the maximum number of students per
slot. Setting a limit of 1 (default) will mean that
the slot is exclusive to a single student. If disabled, any number of students
can book the slot.

5.
Specify the location of the meeting.
6.
Choose a teacher for the appointment.
7. Select the date from which
to Display appointment to students.
8.
Enable and enter a date on when to send
an email reminder to the students.
9.
Save changes.
Add repeated slots
1.
Select the appointment date.
2. Select
the date to which you want to Repeat Time Slot Until.
3.
Select the days to Add
appointments on.
4.
Set the appointment time range.
5.
Select yes for Divide into
slots option.
6.
Enter the duration of each appointment,
in minutes.
7.
Enter the duration of of the break
between slots, in minutes.
8.
Set Force when overlap to no. This will
ensure that existing slots, will not be overridden by new ones that overlap
with existing ones.
9.
Set the maximum number of students per
slot. Setting a limit of 1 (default) will mean that
the slot is exclusive to a single student. If disabled, any number of students
can book the slot.
10. Specify
the location of the meeting.
11. Choose
a teacher for the appointment.
12. Select a
period in which to display appointment to students from and when
to send email reminder.
13. Save changes.
Last modified: Friday, 28 September 2018, 11:57 AM